Coming in July 2024: This Fancy Old Canoe: A Comprehensive Guide to Restoring Antique Canoes
April 8, 2024
by Mike Elliott, Kettle River Canoes
email: artisan@canoeshop.ca
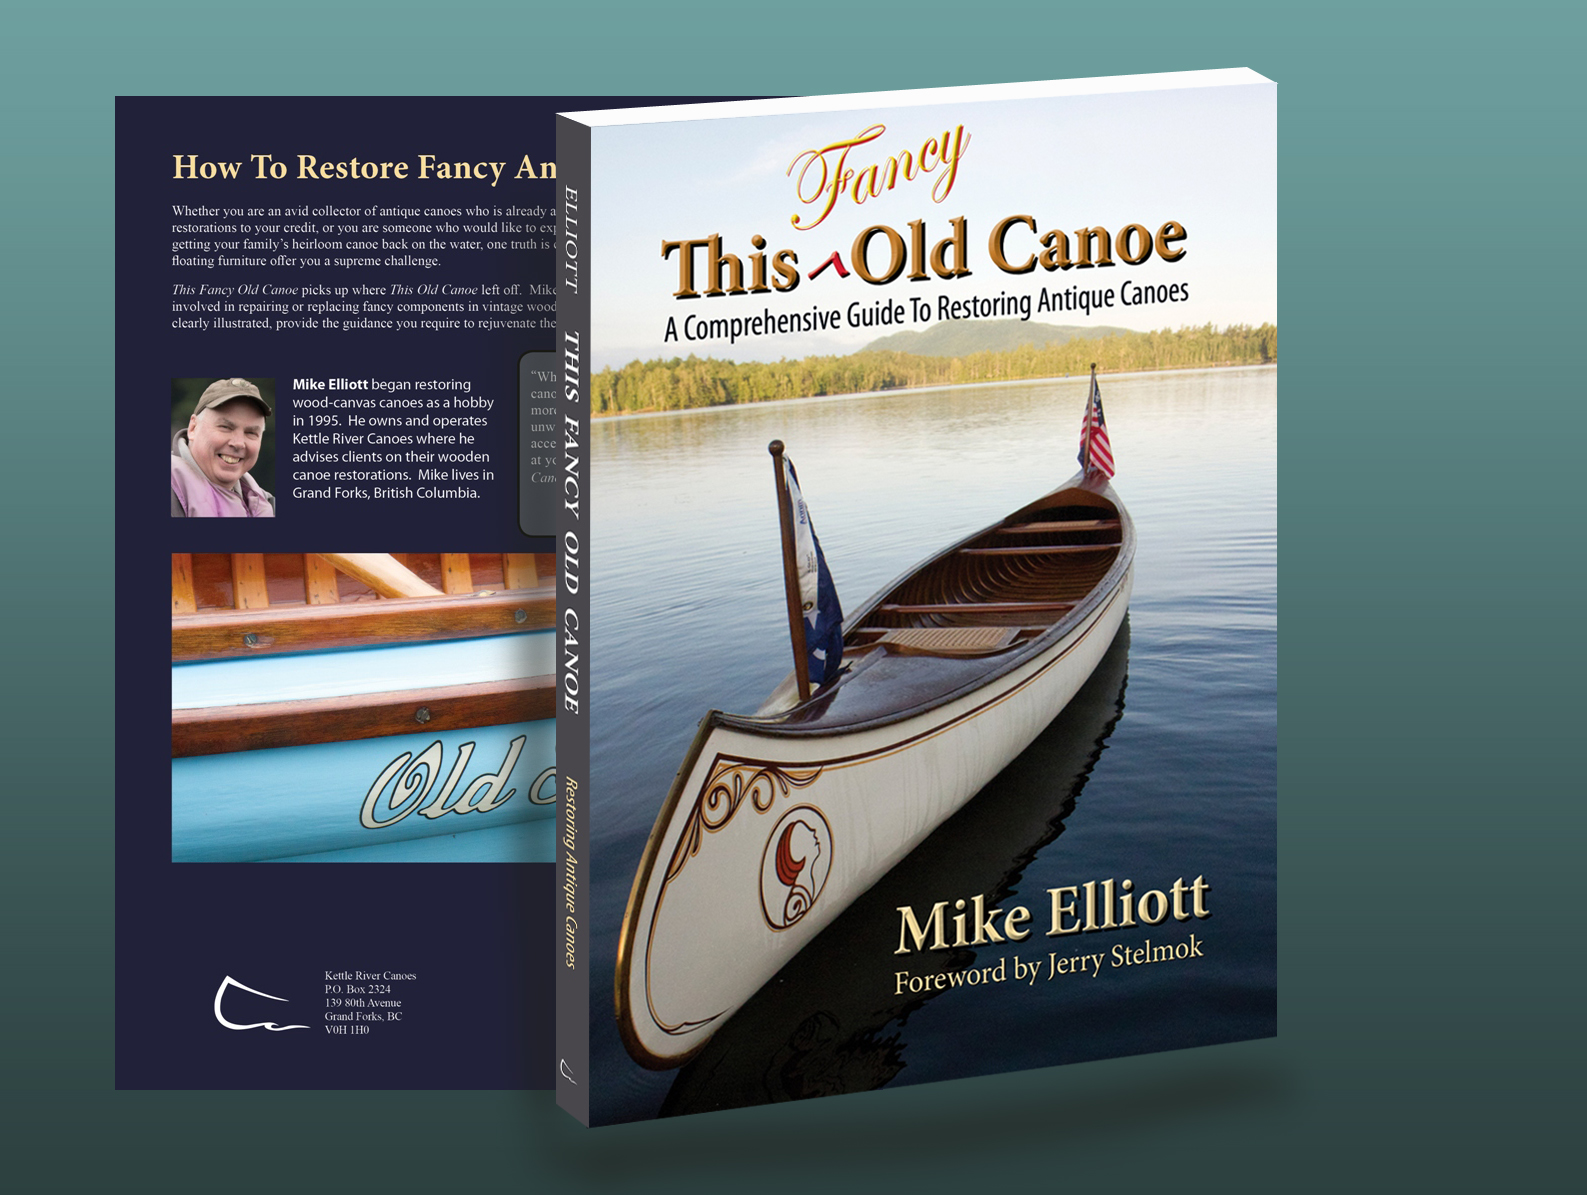
This Fancy Old Canoe: A Comprehensive Guide to Restoring Antique Canoes picks up where This Old Canoe: How to Restore Your Wood-Canvas Canoe left off. Whether you are an avid collector of antique canoes or you have limited woodworking experience and just want to get your family’s heirloom canoe back on the water, the two books work together to provide the techniques necessary to achieve success in your canoe-restoration adventure.
Repairing antique canoes can be a supreme challenge because their artisans built them with beauty and longevity in mind. Using over 400 photos and more than 100 plans and illustrations, This Fancy Old Canoe is designed to simplify the restoration process, guide you through it, and provide a measure of clarity to these complex tasks.
The book covers every aspect you may encounter in fancy old canoes, including:
- identifying your canoe and understanding its construction
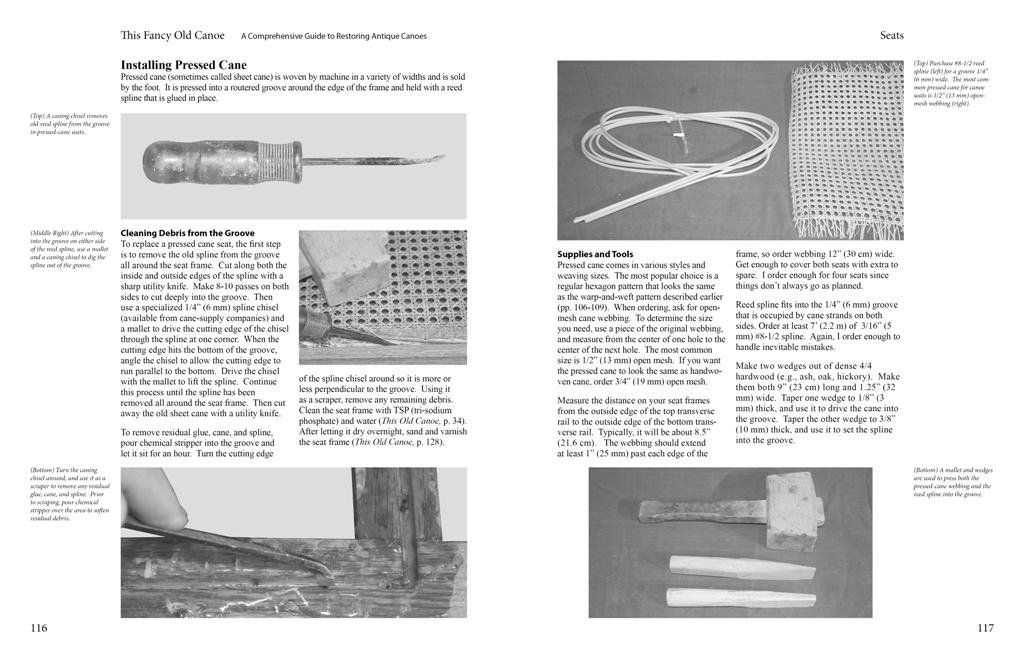
- replacing and weaving cane seats
- reverse engineering highly curved ends
- removing and installing pocketed inwales, wide outwales, and sponsons (air chambers attached to the sides of the canoe)
- repairing sailing rigs and floor systems
- applying fancy hand-painted designs
- sourcing materials
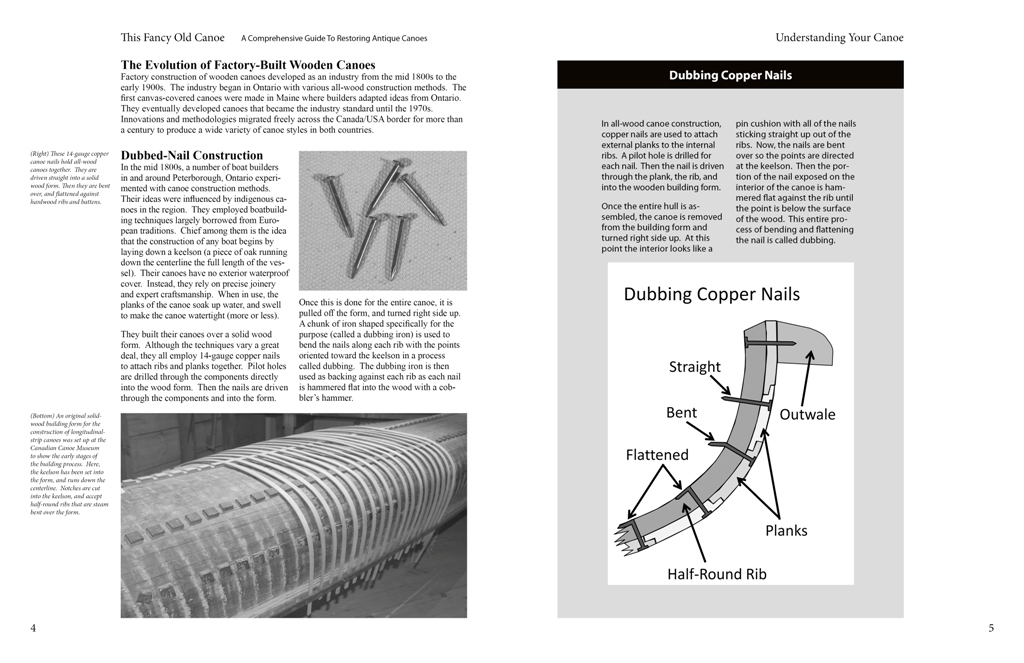
Many antique canoes, built in the Peterborough region of Ontario, Canada, are all-wood construction. They do not have a canvas cover. Instead, they rely on precise joinery to create a water-tight hull. This Fancy Old Canoe describes how to repair and replace every component in these elegant examples of floating art.
This Fancy Old Canoe: A Comprehensive Guide to Restoring Antique Canoes will be available in July 2024. Stay tuned.
How to Make Shaped Outwales for a Fancy Antique Canoe
April 22, 2018
by Mike Elliott, Kettle River Canoes
email: artisan@canoeshop.ca
The outwales found in early versions of production canoes (both all-wood and canvas-covered canoes) built in the late 1800’s and early 1900’s have a number of distinguishing characteristics:

Wide Profile – They are approximately 50% wider than they are deep. In the cross-section diagram, W ≈ 1.5 x H.

Cross-section diagram of the gunwale system in a 1905 J.H. Rushton Indian Girl canoe.
No Rabbet– The inside surface is flat without a rabbet (called a rebate everywhere except North America, it is a recess cut into the inside-edge). That is, they do not cover the top-edge of the planks at the sheer-line.
Matches Tumblehome – The inside surface is angled to conform with the tumblehome angle in the hull. In the cross-section diagram, TH° = Tumblehome angle of the hull at the sheer-line which is generally about 8°.
Shaped Top – The top surface is gracefully rounded to taper the top-edge from a thick inside-edge to a narrow outside-edge. In the cross-section diagram, TE° ≈ 15°.

Pre-Bent Ends – The sheer-line of the canoe often has graceful up-swept ends. The outwales must be pre-bent to follow this curve (refer to the side-view diagram).

Tapered Ends – They are tapered gradually at the ends both in width and height (over a distance of at least 24″ or 60cm). While the width is tapered approximately 50% (We ≈ 0.5 x W in the top-view diagram), the height is normally tapered about 25% (He ≈ 0.75 x H in the side-view diagram).
Attached from the Inside – The main body of the outwale is attached (either with brass screws or copper nails) from the inside. At the ends, the last five fasteners (brass screws) are driven in from the outside (pre-drilled and counter-sunk).
For this blog, I describe the steps involved in making new outwales for a 1905 J.H. Rushton Indian Girl canoe (wood-canvas).

Cut the new cherry stock to rough dimensions on the table saw and cut the tumblehome angle (TH°). Each of the four pieces is at least 9′ (275cm) long. Decide which pieces will be joined together to make full-length outwales for each side of the canoe. Mark them with a permanent ink marker to identify each outwale and mark which end will be soaked and pre-bent. Soak the new cherry for three days. Then, pour boiling water over the pieces and bend them onto the gunwale bending form (no backing strip is necessary). Allow them to dry for a week before removing them from the form.

Once bent, cut a scarf joint angle into the non-bent end of one of the two pieces for each outwale. Attach the new cherry pieces to the canoe. Position the pieces so the bend in each matches the curve in the sheer-line of the canoe. Mark the position of the matching scarf joint angle.

Cut the second scarf joint angle and use polyurethane glue to splice the pieces together into full length outwales. Allow the glue to dry overnight.

Sand the joints smooth. Then, use a spring clamp at every second rib to hold one of the new outwales in place on the canoe. In this particular canoe, new cherry thwarts have yet to be installed. I used ratchet straps to draw the hull into its correct shape.

Sometimes the wood bends too much at the ends. If so, wrap rags around the ends of the outwales and keep them soaked for about three days. The wood will relax and come into its correct position.

Mark the width taper into each end of the new outwale.

Cut the width taper with a saber saw.

Use a random-orbital sander and 60-grit sandpaper to smooth the cut and even out the width taper at each end.

Start attaching the outwale to the canoe at the centre and work to each end. Make sure the top-edge of the outwale is flush to the top edge of the inwale. Pre-drill and counter-sink holes for 1½” #8 bronze flat-head wood screws which are driven from the inside through the inwale into the outwale. Originally, they placed a screw between each rib in the canoe. I replicated their process, but I see no reason why you couldn’t use a screw between every second rib.

The last five screws at each end are driven from the outside through the outwale into the inwale. Position the outwale a little high at each end. As the final sanding is done, each end will be tapered (He ≈ 0.75 x H).

Each end of the outwale is trimmed flush to the stem-end.

Install the second outwale in the same manner. Be sure the height taper and final height of both outwales are the same at each end and on both sides of the canoe. Then, use an angle grinder set up with a 24-grit sanding disk to carve the top-edge angle into the outwales all around the canoe (TE° ≈ 15°). Be sure to leave enough material in the top-edge to allow for final shaping and sanding.

Sand and shape the outwales with a random-orbital sander. Start with 60-grit sandpaper and work progressively down to 220-grit. The final shaping is done more-or-less by eye until a pleasing shape is achieved. Wet down the outwales and decks with water and allow them to dry. This will raise the grain of the new wood.
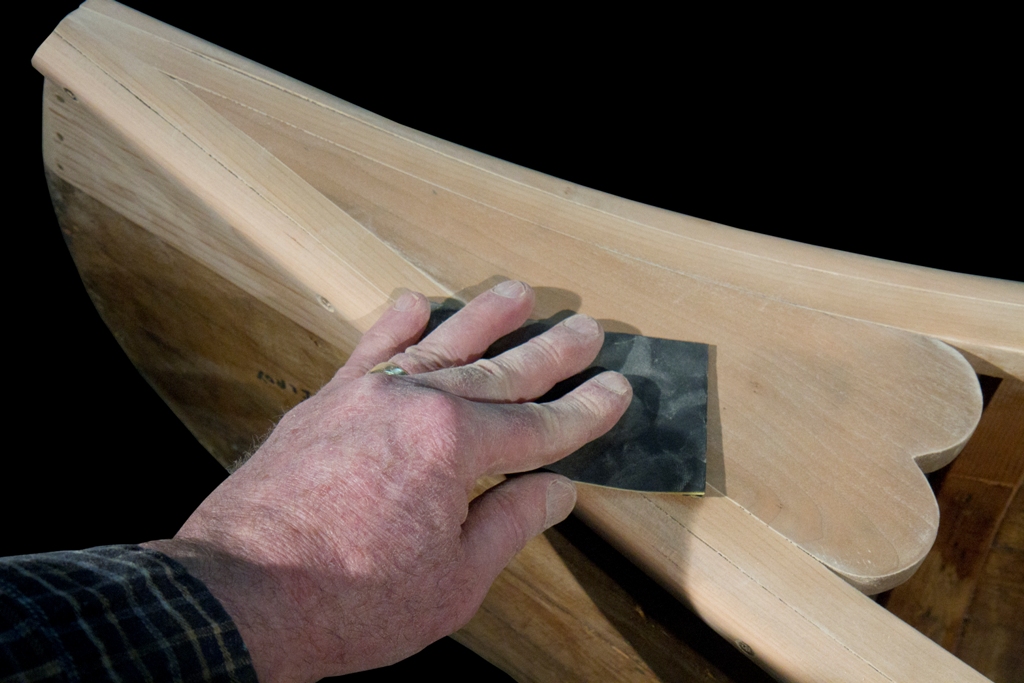
Use dry sandpaper for hand-sanding in progressions from 320-grit to 600-grit until the wood is polished.

Stain all of the new wood to match the original. Remove the new outwales and apply final finishing with shellac and varnish on all of the surfaces. In this canoe, the outwales will be re-installed after the canoe is canvassed, filled and painted.

The entire restoration process (including gunwale repairs and replacement) is described in my book – This Old Canoe: How To Restore Your Wood Canvas Canoe.
If you live in Canada, CLICK HERE to buy the book.
If you live in the USA, CLICK HERE to buy the book.
If you live in the UK, CLICK HERE to buy the book.
Si vous habitez en France, CLIQUEZ ICI acheter le livre.
If you have read the book, please post a review on Amazon, Goodreads and/or any other review site.

